
Create and publish an event
Add an event to your city's calendar with its date, place and cover photo, then share it with residents.
Before you start
- Who can do this: staff who can create content can create events. To publish them, you also need the Publish content permission.
- Have a cover photo ready. An event needs a cover photo before it can be published.
- Your work saves as you go. Unpublished events wait for you under Events > Drafts.
Start a new event
- In the sidebar, click Events.
- Click the + button (New event).
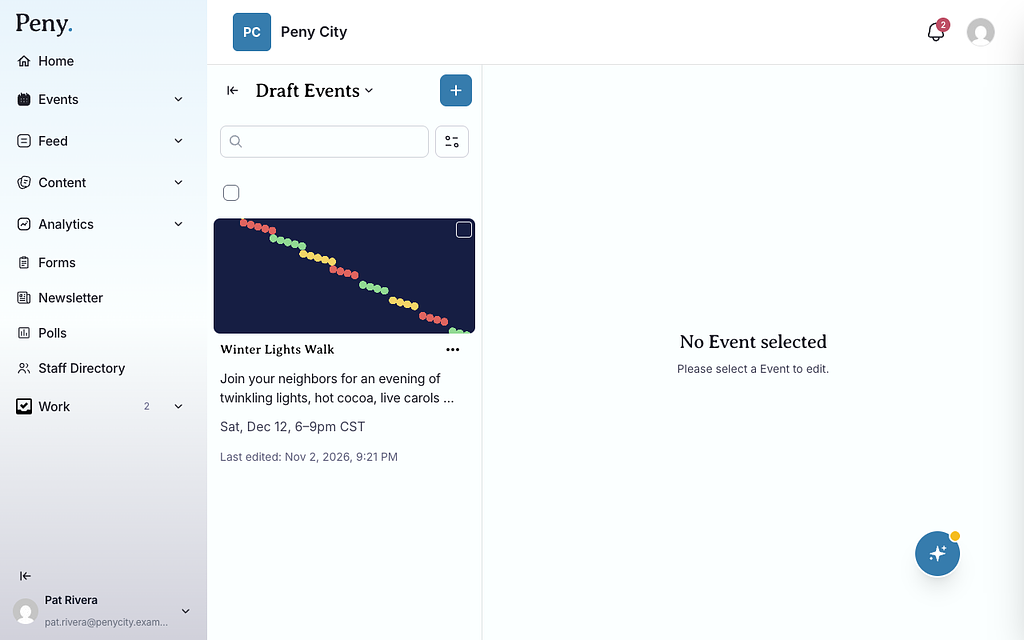
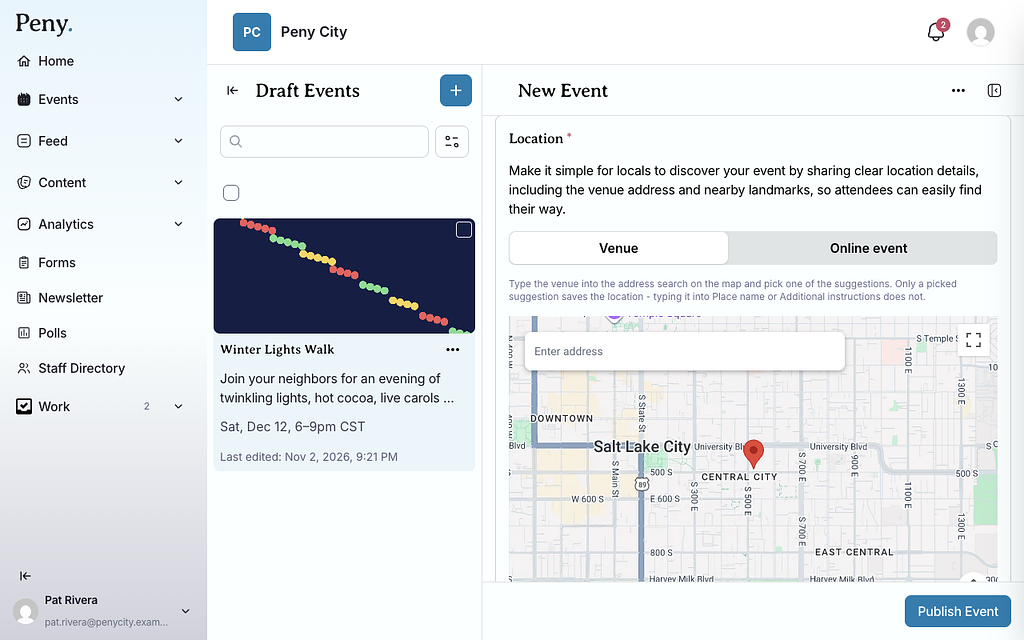
A new event opens with New Event at the top, and it's listed under Draft Events. You can also start one from Events > Drafts with the same + button.
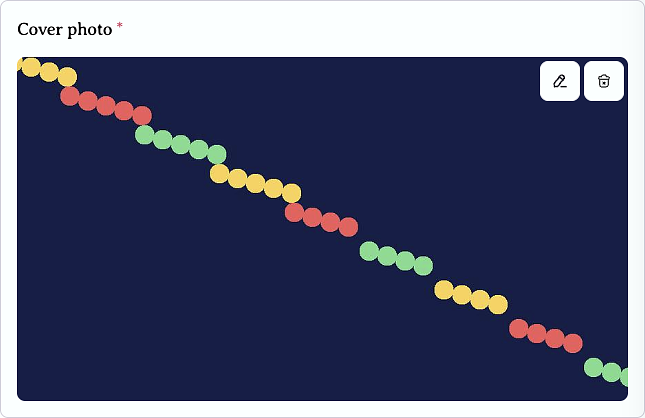
Add the cover photo
- In Cover photo, upload the image residents will see at the top of the event.
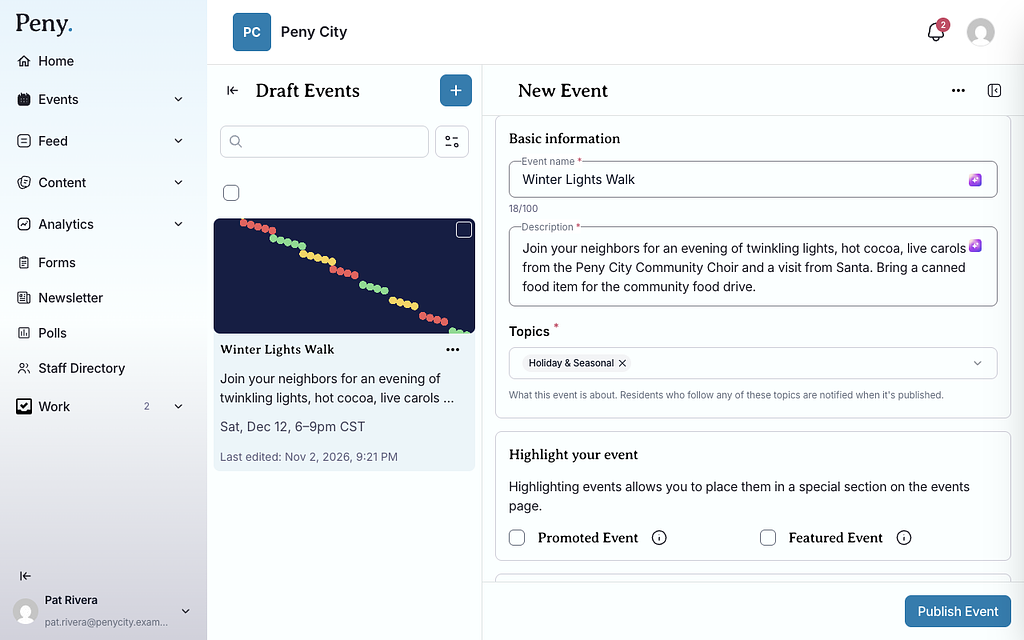
Add the basic information
- In Event name, type the name. Names can be up to 100 characters.
- In Description, describe the event.
- Under Topics, choose one or more topics. "Residents who follow any of these topics are notified when it's published." In some cities you'll see Category instead: pick the one that fits best from Arts & Entertainment, Food & Drink, Family & Kids, Social Activities & Hobbies, Health, Fitness, & Outdoor, Holiday & Seasonal, Business & Technology, Charity & Causes, Civic & Public Meetings or Education & Learning.
- Optional, under Highlight your event: tick Promoted Event to show it as the main banner at the top of the Events page (up to three events at a time), or Featured Event to show it in the Featured Events section just below (up to six at a time).
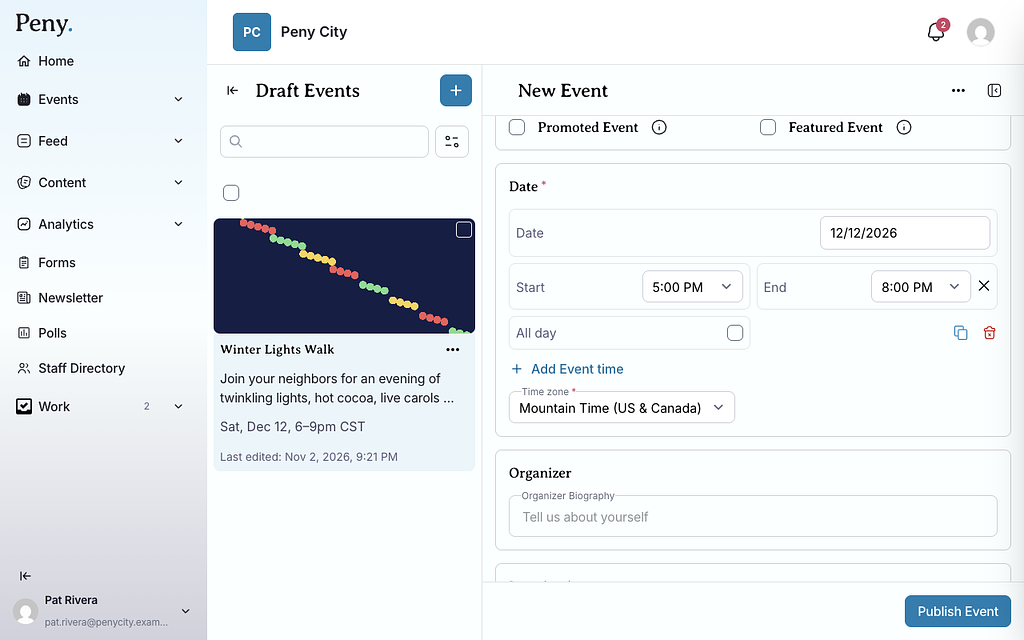
Set the date and time
- Under Date, pick the Date.
- Set the Start time and the End time, or tick All day.
- For an event on more than one day, click Add Event time and fill in the next date. Use Duplicate time to copy a row and Remove time to delete one.
- Check the Time zone.
Add the location
Under Location, choose Venue or Online event.
For a venue:
- Type the address in the search box on the map (Enter address).
- Pick the right address from the suggestions. Only a picked suggestion saves the location.
- Optional: add directions or nearby landmarks in Additional instructions (up to 500 characters).
For an online event: paste the meeting or stream address in Online event link.
Price, tickets and extras
- Price & Tickets. Tick Free, or enter Price from and Price to.
- Button type. Pick the button residents see: Learn more, Get tickets, Register, RSVP, Join waitlist, Custom (type your own words) or No Button. If you pick a button, enter its Link.
- Organizer. In Organizer Biography, tell residents who's running the event.
- Media. Add more photos.
- FAQs. Click Add FAQ to answer common questions.
- Associated events. Click Assign events to link related events so they appear together on the event page.
Publish the event
- Click Publish Event in the bottom-right corner.
- If anything required is missing, Peny lists how many fields require attention. Use the arrows to jump to each one and fix it, then click Publish Event again.
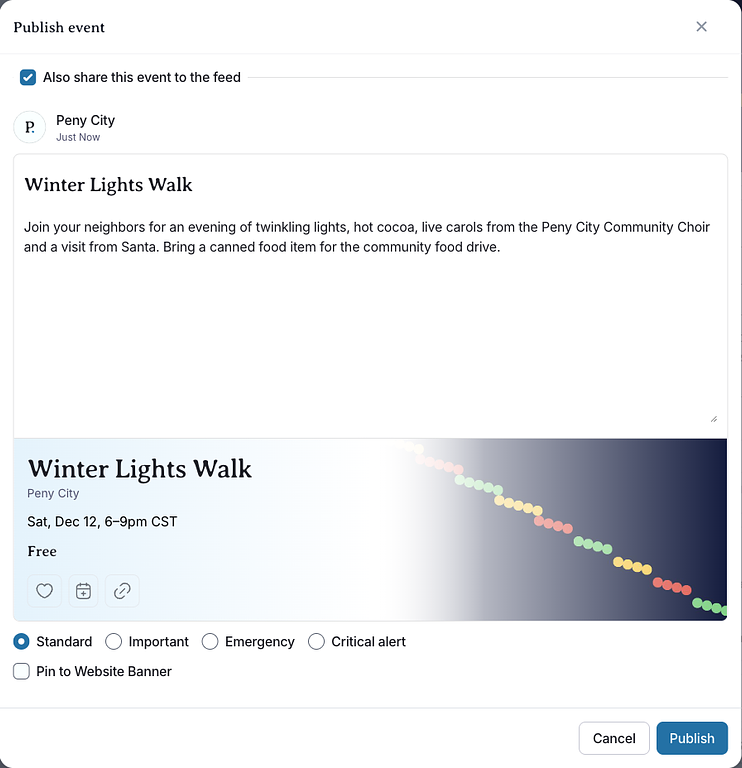
- The Publish event window opens with Also share this event to the feed already ticked, so Peny also posts about the event. The post is filled in from the event's name and description, with the event card attached. Edit the text if you like, and choose the post's priority: Standard, Important, Emergency or Critical alert. To publish without a post, untick Also share this event to the feed.
- If the event has associated draft events, choose which ones to publish with it.
- Click Publish.
Peny shows "Event published." with an Open event link. Residents who follow the event's topics are notified.
To publish, an event needs a cover photo, a name, a description, a topic or category, a date and time, and a venue or online link. Paid events need prices, and a button needs a link.
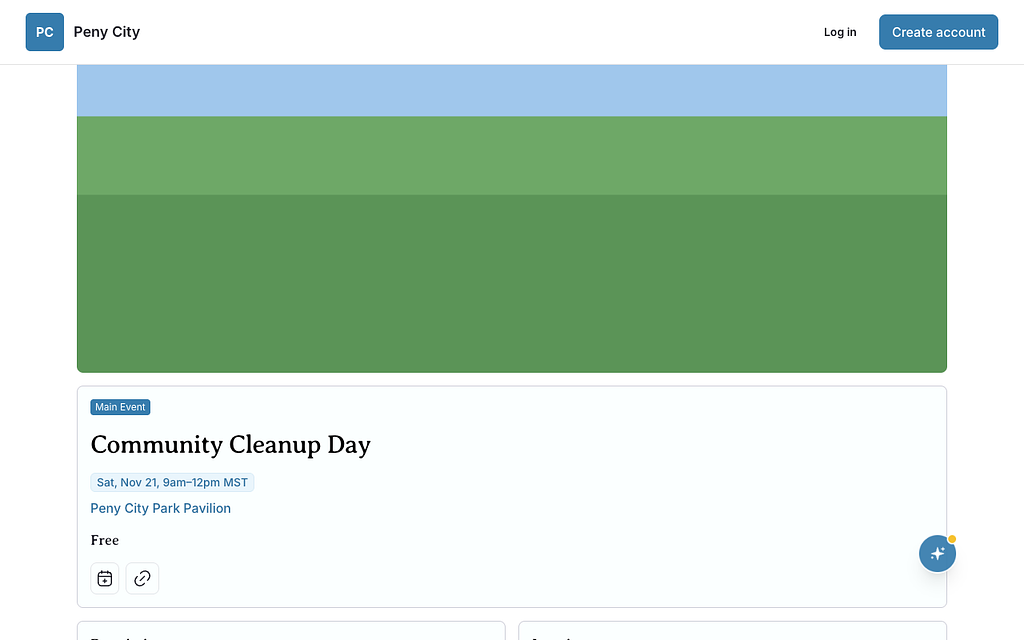
If your city reviews events before they go live, Send for review replaces Publish Event.
Don't see this? It may not be turned on for your city yet — email support@penyapp.com.
After you publish
Open the event's menu (the three dots) to:
- Edit — change the event, then click Save Changes. Saving changes doesn't notify residents again.
- Duplicate — copy the event to start a new one.
- Copy Event URL — copy the event's web address.
- Share to Feed — write a post about the event.
- Cancel Event — keep the event listed with a Canceled badge. Canceling doesn't send a notification, so share a post if residents need to know. Undo Cancellation reverses it.
- Delete — remove the event. Posts that include the event are deleted with it, and Peny tells you how many before you confirm.