
Organize your site menu
Add pages, groups and links to the menu at the top of your site, then publish it.
What it's for
The Sitemap is the menu residents see at the top of your public website. You arrange it as a tree: top-level items, with pages, groups and links nested under them. Menu changes are a draft until you publish the sitemap.
Before you start
- City admins can edit the sitemap.
- Only published pages can go in the menu. Publish a new page from the builder first. See Publish, review and restore pages.
Open the sitemap
- In the left sidebar, open Content and click City Pages.
- Click the Sitemap tab.
- Click Edit sitemap → next to your city.
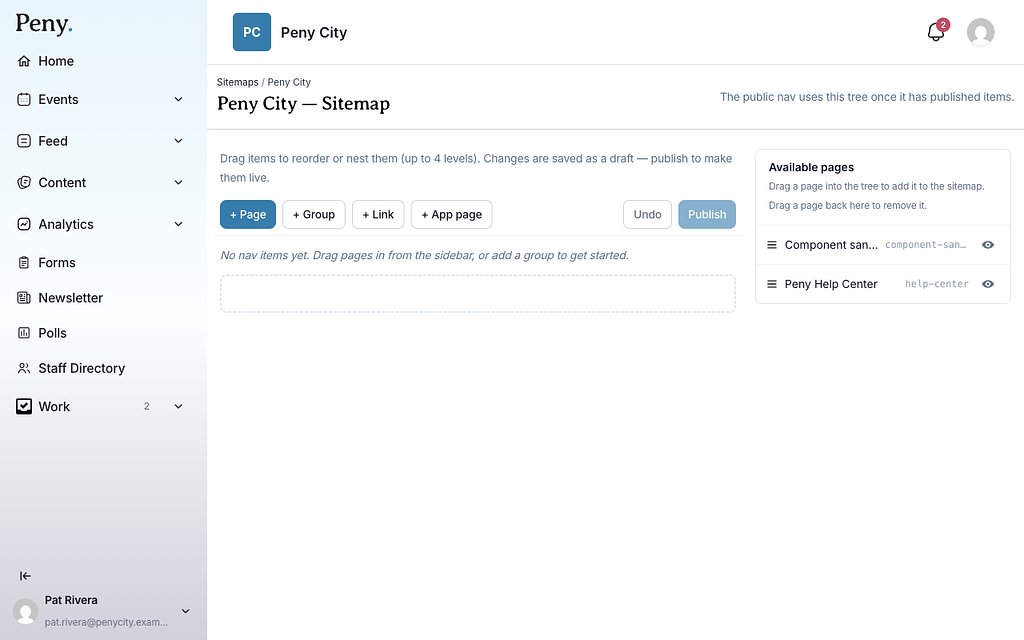
Add a published page
- Find the page in Available pages. This list shows published pages that aren't in the menu yet.
- Drag the page into the tree. Drop it between two items to place it at that level, or onto another item to nest it inside.
Create a new page from the sitemap
- Click + Page.
- Type the page title. A URL slug is optional; Peny makes one from the title.
- If your city has templates, pick one to start from its layout, or leave Blank page.
- Click Create page.
The new page opens in the builder as a draft. Publish it there, and it appears under Available pages so you can drag it into the menu.
Add a group
A group is a menu heading that holds other items, for example Government.
- Click + Group.
- Type the group label.
- In Place under, choose Top level or the item to put the group under.
- Click Add.
Add a link
Use a link for anything that isn't one of your pages, such as another website.
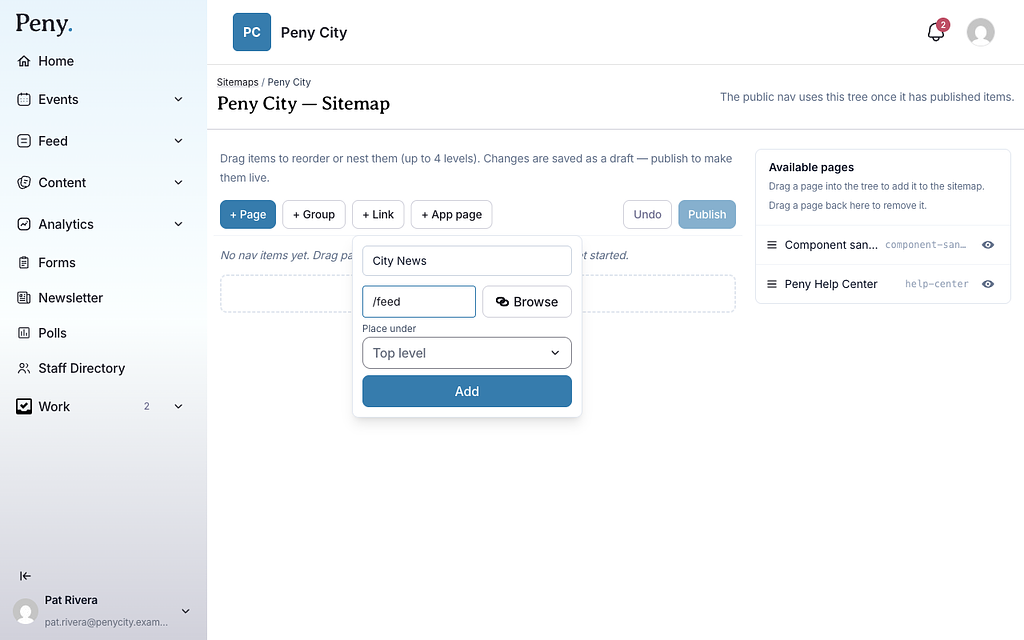
- Click + Link.
- Type the link label.
- Enter the URL, for example
/feedorhttps://example.com. - In Place under, choose where it goes.
- Click Add.
Add a built-in Peny page
- Click + App page.
- Click Events, City News or Staff Directory.
- Drag the new link into place.
Pages already in your menu don't appear in this list. Staff Directory shows only if your city uses the staff directory.
Reorder and nest items
- Drag an item by its handle (Drag to move) to a new spot. Drop it onto another item to nest it.
- Use the Move up and Move down arrows to move an item one place.
- Click the arrow on an item that holds others to collapse or expand it.
The menu can be up to 4 levels deep. The top level holds up to 8 items. When it's full, you see "Top-level limit reached (8). Nest or remove an item to add more."
Rename or remove an item
- Rename — type a new label and click Save. For a page, this sets the menu label only; the page keeps its own name. Leave it blank to use the page name. For a link, you can also change the URL here.
- Edit page — opens the page in the builder.
- Remove (the minus button) — takes the item out of the menu. A page isn't deleted; it goes back to Available pages. Items inside a removed group or page move up a level. You can also drag a page back onto Available pages.