
Image(s) block
Show a photo, a gallery or a carousel, with a description for every image.
What it's for
The Image(s) block shows one photo or a set of photos: a single picture, a gallery grid, or a carousel residents click through one image at a time.
Add it to a page
Who can do this: City admins, in the website builder.
- In the left sidebar, open Content › City Pages.
- Find the page and click Edit. The page opens in the builder.
- In the Add blocks panel on the left, find Image(s) under Content. You can also type "Image(s)" in Search blocks.
- Drag Image(s) onto the page where you want it. Or select the block it should follow and click Image(s) to add it right below — with nothing selected, it goes at the end of the page.
- The new block is selected and its settings appear in the Settings panel on the right.
- Click Edit settings in the Settings panel (or double-click the block) to open the image editor.
- Click Add images and choose one or more images from your computer. Each image must be under 10 MB.
- For each image, type its Alt text — a short description for people who can't see it.
- Pick a Layout.
- Click Done.
- Your changes save as a draft as you go. Residents see them after you click Publish — or Ready for review, if your city reviews page changes.
Settings
In the side panel
- Heading alignment — Left (default), Center or Right. Places the section heading, if you add one.
In the Edit popup
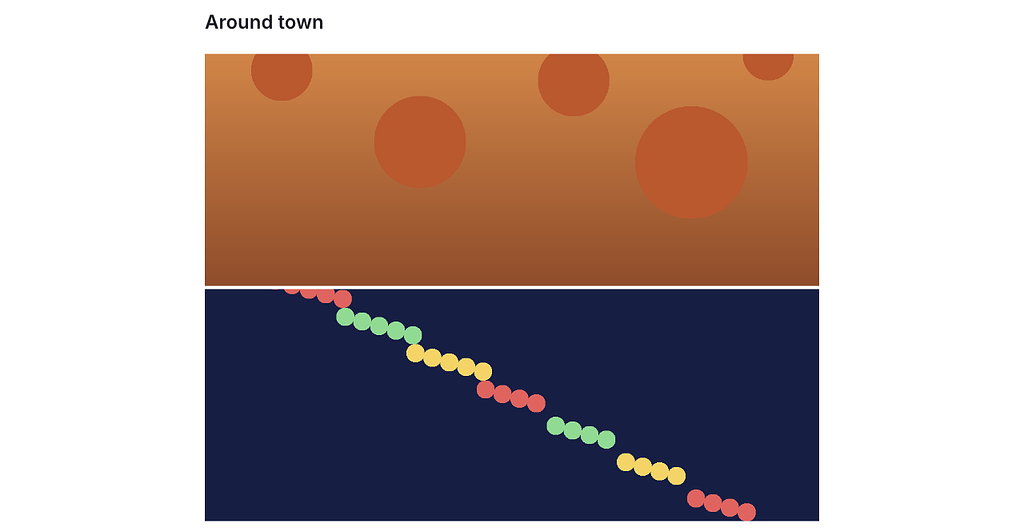
Section heading (optional) — A heading above the images, such as "Around town".
Layout — How the images are arranged:
- Auto (default) — picks a grid from how many images there are and their shapes.
- Feature left — a big image on the left, smaller ones on the right.
- Feature top — a big image on top, smaller ones below.
- Carousel — one image at a time, with arrows to move between them.
Images:
- Add images — Upload one or more image files, each under 10 MB.
- Alt text — Describes the image for screen readers. It isn't shown on the page. An image with no alt text shows a Missing description badge.
- Suggest — Asks Peny's AI to write a description of the image. Read it and edit it before you save. Suggest only works on images that are already saved: for a new upload, click Done, then open Edit settings again.
- Drag an image by its handle to change the order. Click the × to remove it.
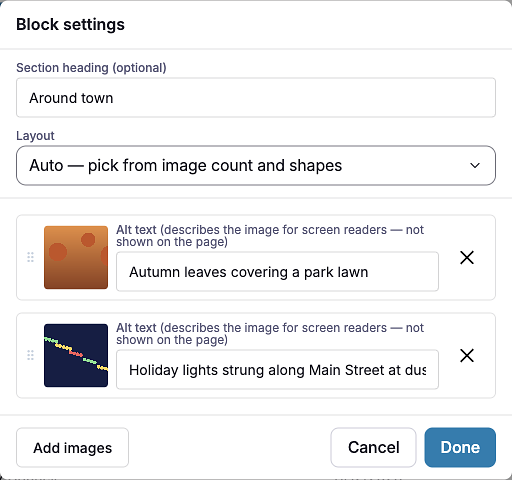
Image changes go live right away
Adding, removing or reordering images and changing their alt text saves straight to the block. If the block is already on a published page, residents see those image changes as soon as you click Done — they don't wait for Publish. The heading and layout do wait for Publish.
What residents see
The images in the layout you picked. A carousel never moves on its own; residents use the arrows. A carousel with only one image shows as a single image. Until you add at least one image, the block shows nothing on the page.
Tips
- Write useful alt text. Say what the photo shows and why it's there, like "Volunteers raking leaves in Peny City Park". Skip "image of". If the image has words in it, include them.
- Don't skip descriptions. Images without alt text are flagged by the accessibility check when you publish.
- Use photos with similar shapes (all landscape or all portrait) for the neatest grid.
- Use Carousel for many photos, so the page doesn't get too long.
- Check phones: click the Mobile preview button above the canvas.