
Change your site's appearance
Set your brand color, logo, social share image, footer and city tidbits.
What it's for
Appearance & Settings controls the look and the shared parts of your public website: the brand color, the logo, the image shown when pages are shared, the footer and more. These settings apply to every page.
Before you start
- City admins can change these settings.
- Changes go live as soon as you click Save or upload an image. There's no separate publish step.
- Each page's large header photo is set in that page's Hero block, not here. See Hero block.
Open Appearance & Settings
- In the left sidebar, open Content and click City Pages.
- Click the Appearance & Settings tab.
- If you manage more than one city, click Edit appearance → next to the city.
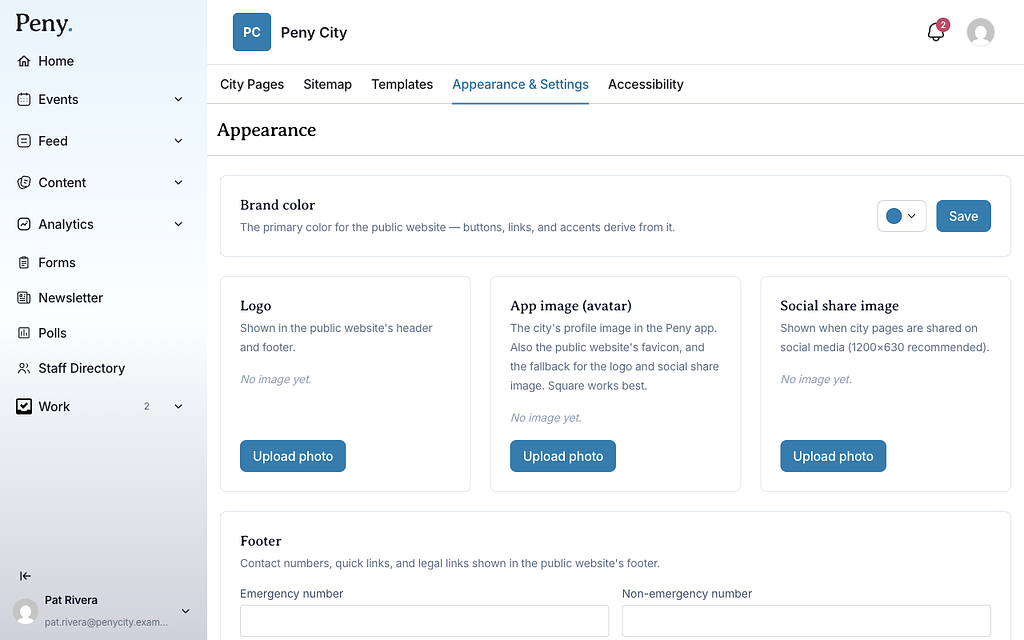
Set your brand color
Buttons, links and accents on your public website use the brand color.
- Under Brand color, pick a color. Peny blue (default) is the starting color.
- Click Save.
Text in your brand color has to be readable on white. If the color is too light, Peny shows This brand color is hard to read with a suggested alternative:
- Use suggested color saves the darker suggestion.
- Keep my color saves your color anyway.
- Cancel goes back without saving.
Change the logo, app image or social share image
- Find the image section you want.
- Click Upload photo, or Replace photo if there's one already.
- Choose the image file.
The image saves as soon as you choose it. Click Remove to take an image away.
- Logo — shown in your public website's header and footer. Without a logo, the site uses your app image.
- App image (avatar) — your city's profile image in the Peny app. It's also the website's browser tab icon, and the fallback for the logo and social share image. Square works best.
- Social share image — shown when someone shares one of your pages on social media. 1200×630 pixels is recommended.